How to transfer a design to a materialUpdated 3 months ago
 Written by Amber
Are you ready to take your engraving projects to the next level? 🚀 We've got you covered with these fantastic methods to transfer your designs onto various materials. Whether you're working with wood, glass, or metal, these techniques will help you achieve professional-looking results every time!
1. Hectograph paper for all your needs 📄
It is a fantastic tool for transferring designs! Here's how:
1. Place the hectograph paper between your drawing and the material.
2. Trace over your design with a pencil.
3. Remove the paper, and voila! Your design is ready for engraving.
2. The Dust and Dot Technique ⚫
This method is perfect for intricate designs:
1. Print your design and punch small holes along the lines.
2. Position the paper on your material.
3. Dust over the holes with a fine powder.
4. Carefully remove the paper and connect the dots with a pencil or marker.
3. Stencil Magic 🦋
Stencils are a great way to achieve consistent results:
1. Choose a stencil from our amazing collection.
2. Place it on your material.
3. Trace inside or outline the design.
4. Remove the stencil and start engraving!
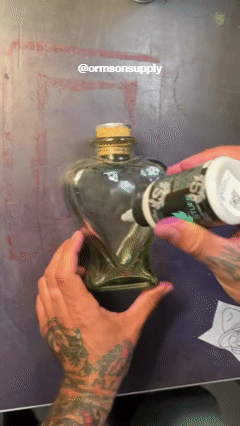
4. The transparency trick 🍷
Working with glass, plastic, acrylic, or anything transparent? Try this simple method:
1. Tape your design behind the glass.
2. Mark the design on the front of the glass.
3. Remove the paper and engrave away!
![]()
5. Freehand with Markers ✍️
Feeling confident? Go direct:
1. Use a marker to draw directly on your material.
2. Let your creativity flow!
3. Engrave over your marker lines for a personal touch.
Remember, practice makes perfect! Don't be afraid to experiment with these methods to find what works best for you. Happy engraving, and let your creativity spark! ✨